
Tiger lilies are beautiful flowering plants that are known for their vibrant orange color and unique spotted petals. Drawing a tiger lily can be a fun and creative way to capture the beauty of these flowers on paper. In this article, we will explore various techniques and tips to help you create a stunning tiger lily drawing.
Choosing the Right Materials
Before you begin your tiger lily drawing, it's essential to gather the right materials. Start by selecting high-quality drawing paper that can handle various drawing mediums such as pencils, markers, or pastels. You will also need a range of pencils, erasers, and sharpeners to achieve different effects. Additionally, consider using colored pencils or watercolors if you prefer to add color to your drawing.
Observing the Tiger Lily

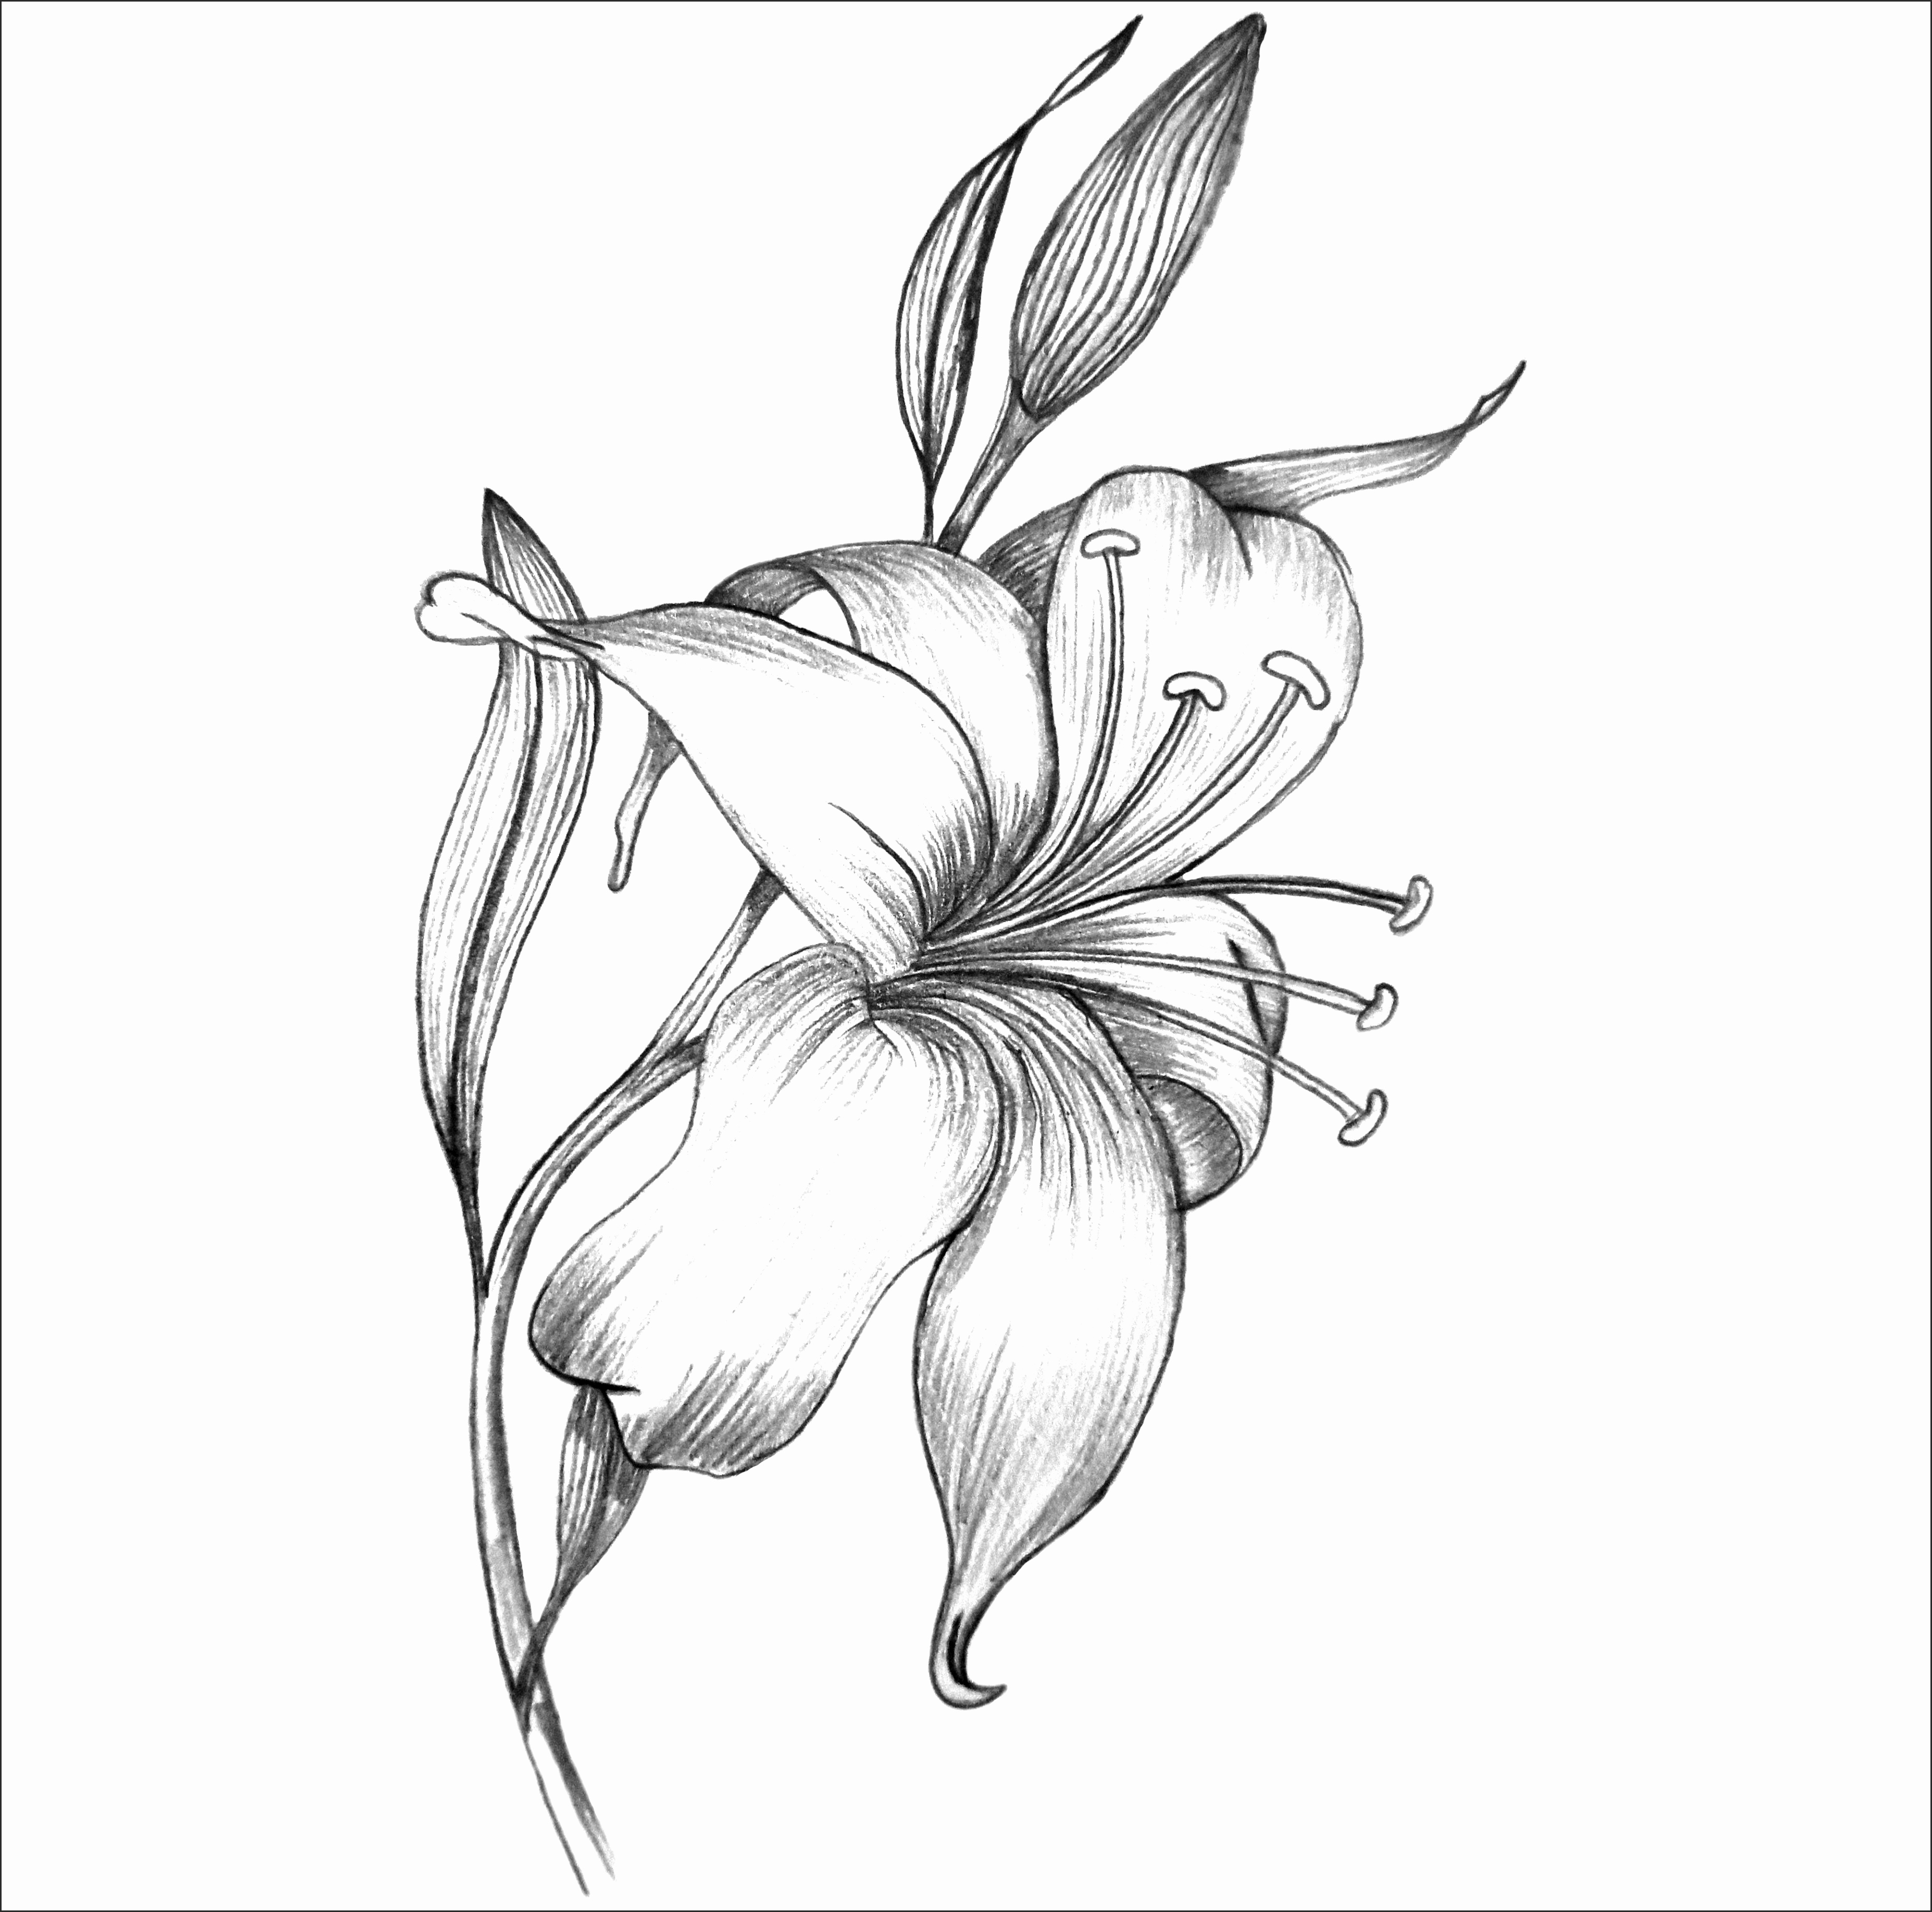
To draw a realistic tiger lily, it's crucial to observe the flower carefully. Take a close look at the shape and structure of the petals, leaves, and stem. Notice the patterns and textures on the petals, including the spots and lines. Pay attention to the colors and shading as well. By observing these details, you can create a more accurate and lifelike drawing.
Sketching the Outline
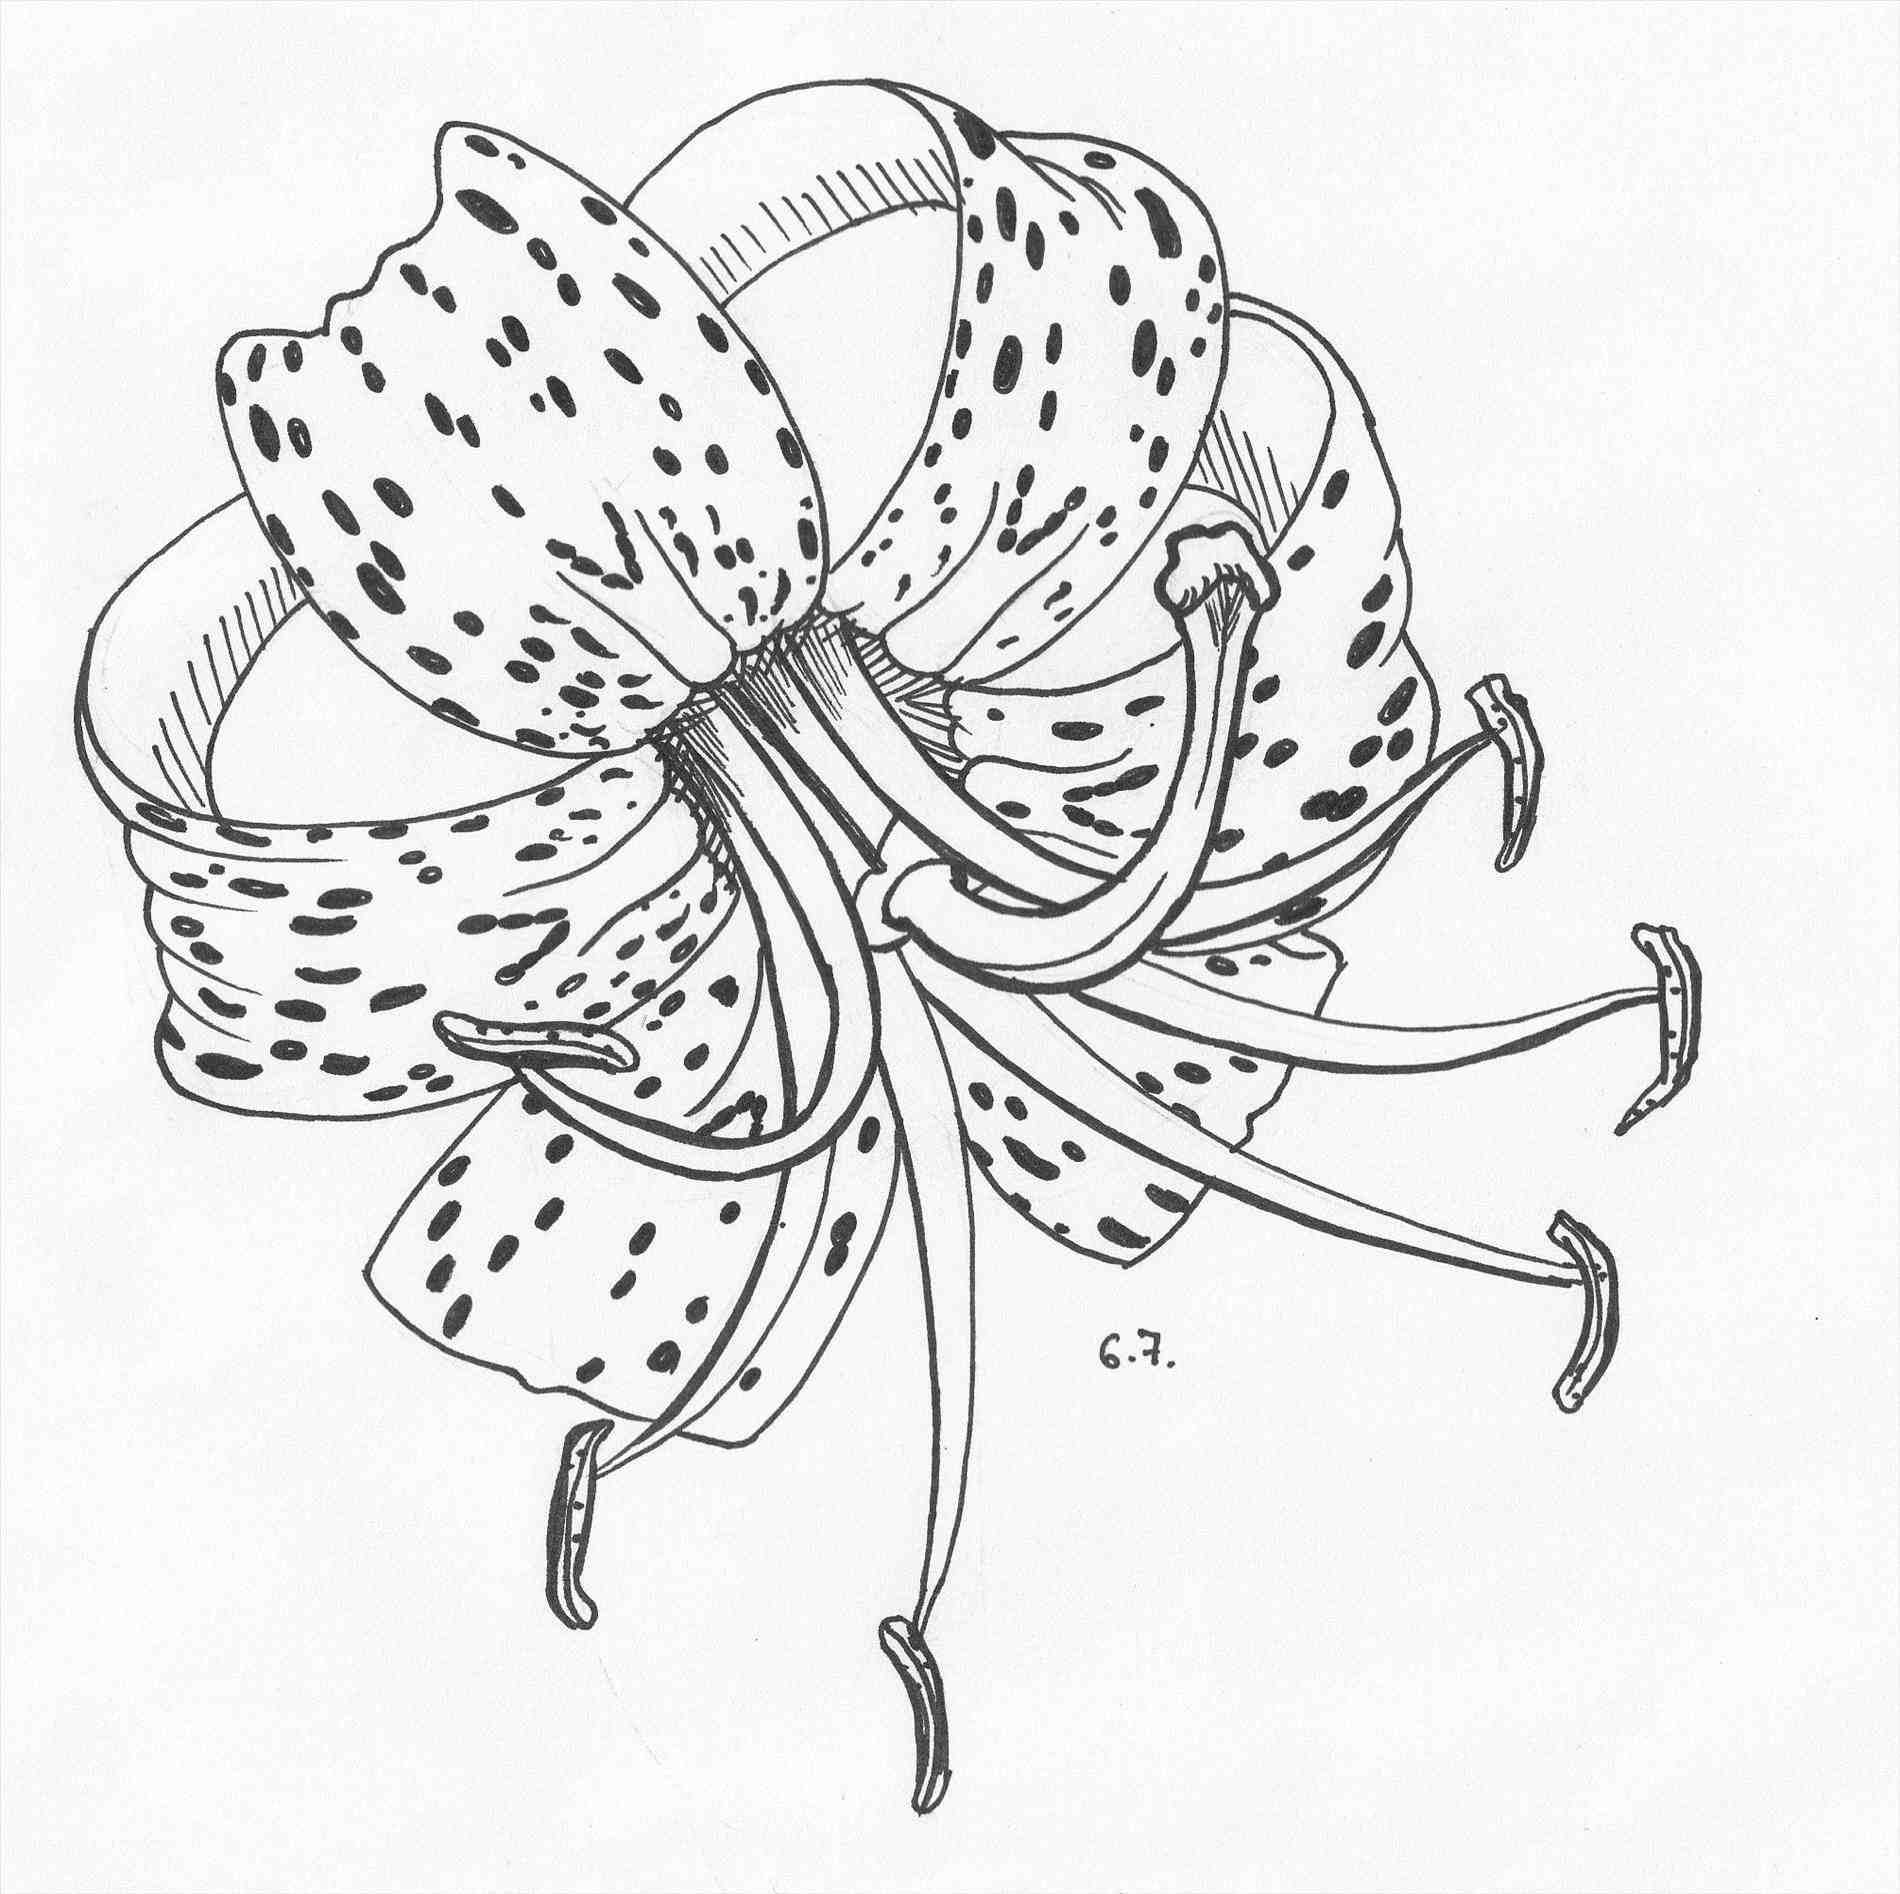
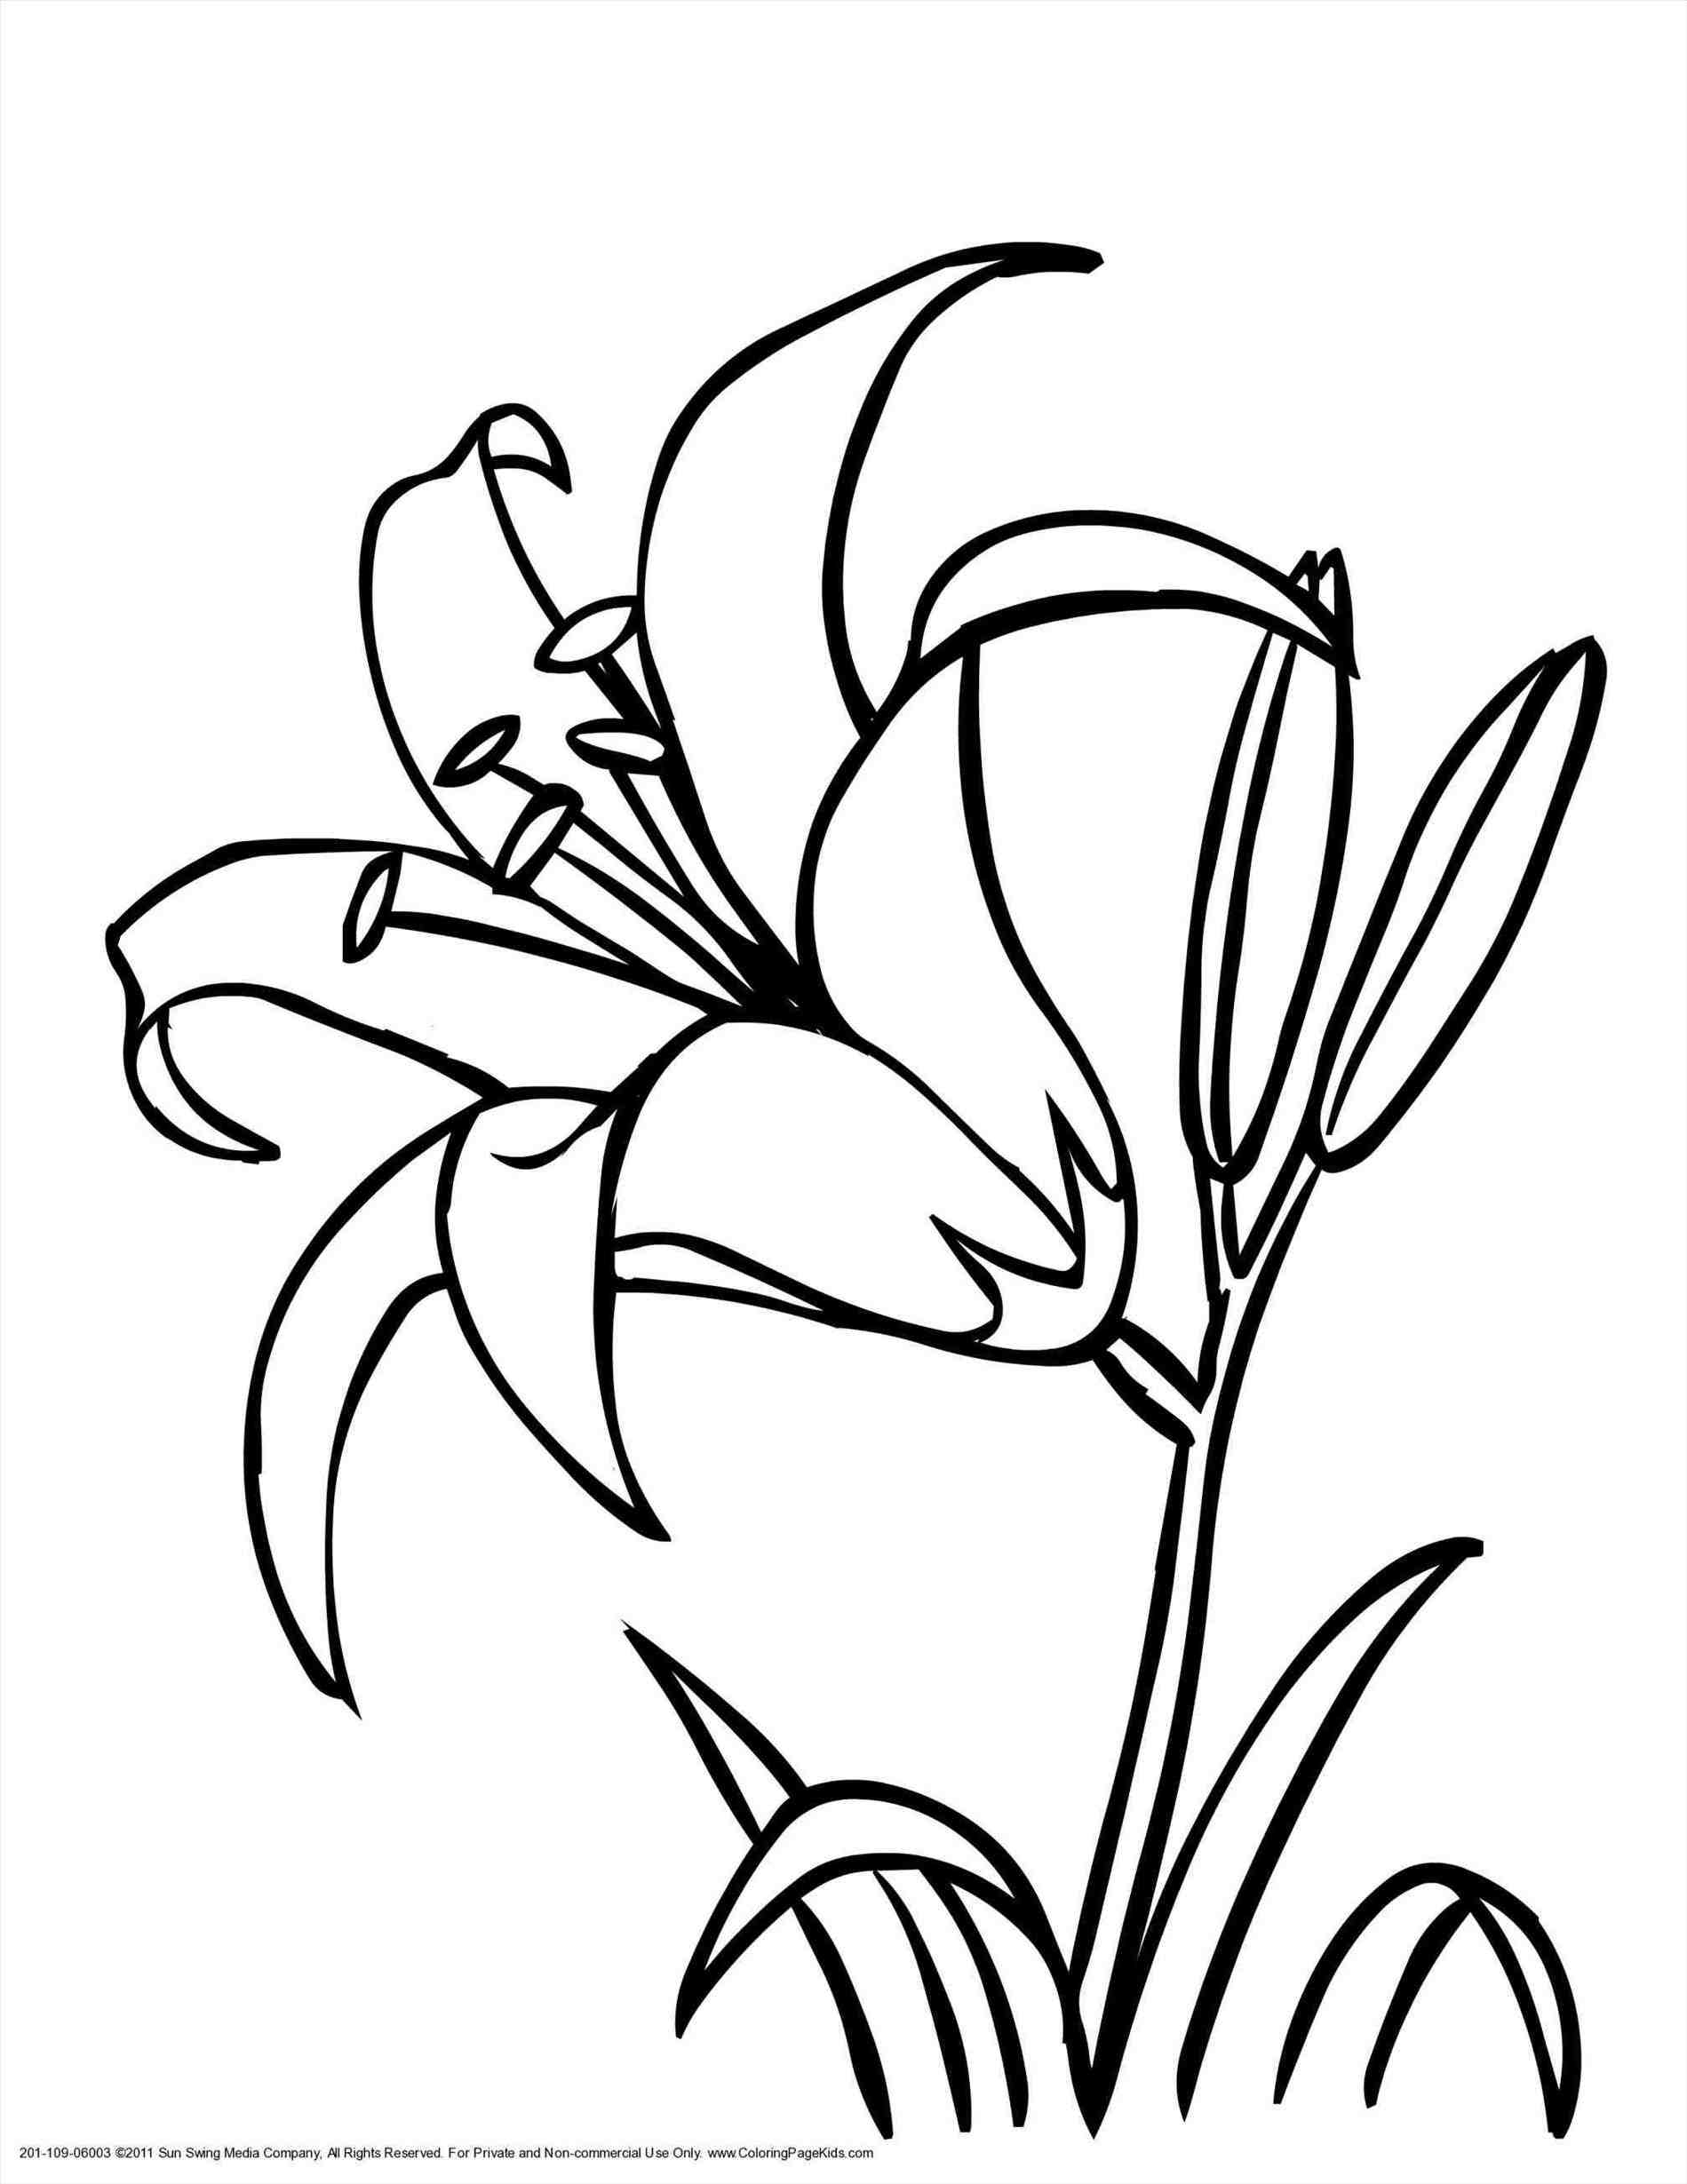
Start your tiger lily drawing by lightly sketching the outline of the flower. Begin with a simple oval shape for the central part of the flower, known as the pistil. Then, add elongated petals around the pistil. Tiger lilies typically have six petals that curve outward. Be sure to capture the overall shape and proportions accurately.
Adding Details and Texture

Once you have the basic outline, start adding details to your tiger lily drawing. Begin with the spots and lines on the petals, using short, curved strokes to create a textured appearance. Pay attention to the veins on the leaves and the stem's texture as well. Use varying pressure with your pencil to achieve different shades and depths.
Shading and Blending
To bring depth and dimension to your tiger lily drawing, focus on shading and blending. Use a range of pencils, from lighter to darker shades, to create shadows and highlights. Start by shading the areas that are hidden or less exposed to light. Gradually build up the layers of shading, blending them together for a smooth transition. Remember to observe the reference image for guidance.
Adding Color

If you prefer a colored tiger lily drawing, consider using colored pencils or watercolors. Start by layering light colors and gradually build up the intensity. Pay attention to the color variations on the petals and replicate them as accurately as possible. Experiment with blending colors to achieve a realistic and vibrant look.
Creating a Background

To enhance your tiger lily drawing, consider adding a background. You can create a simple background with abstract shapes or opt for a more detailed floral backdrop. Experiment with different colors and textures to find a background that complements your tiger lily while maintaining a balanced composition.
Finishing Touches

Once you are satisfied with your tiger lily drawing, take a step back and evaluate the overall composition. Make any necessary adjustments or refinements to ensure a polished and professional look. Erase any stray lines or smudges, and add final details to enhance the realism of the drawing.
Conclusion
Drawing a tiger lily can be a rewarding and enjoyable experience. By observing the flower's details, sketching the outline, adding texture and shading, and incorporating color, you can create a stunning tiger lily drawing. Remember to experiment with different techniques and materials to find your unique style. With practice and patience, your tiger lily drawings will continue to improve.
