Introduction
Tiger drawing is a popular art form that allows individuals to express their creativity and appreciation for these majestic creatures. Whether you are an experienced artist or just starting out, learning how to draw a tiger can be a rewarding and enjoyable experience. In this article, we will explore various techniques and tips to help you create a stunning tiger drawing.

Choosing the Right Materials
Before you start drawing, it is essential to gather the right materials. Using good quality materials will not only enhance the final result but also make the drawing process smoother. Here are a few essential materials:
- Drawing pencils - HB, 2B, 4B, and 6B
- Sketchbook or drawing paper
- Eraser
- Blending stump
Observation and Reference Images
Observation is key when it comes to drawing a realistic tiger. Take time to study the anatomy, features, and patterns of tigers. By observing their body structure, fur patterns, and details like eyes, ears, and whiskers, you will gain a better understanding of how to depict them accurately.
Reference images can be incredibly helpful in capturing the essence of a tiger. Look for high-quality images online or in wildlife photography books. Pay attention to the lighting, shadows, and textures in the reference images, as these elements play a crucial role in creating a lifelike drawing.

Starting with Basic Shapes
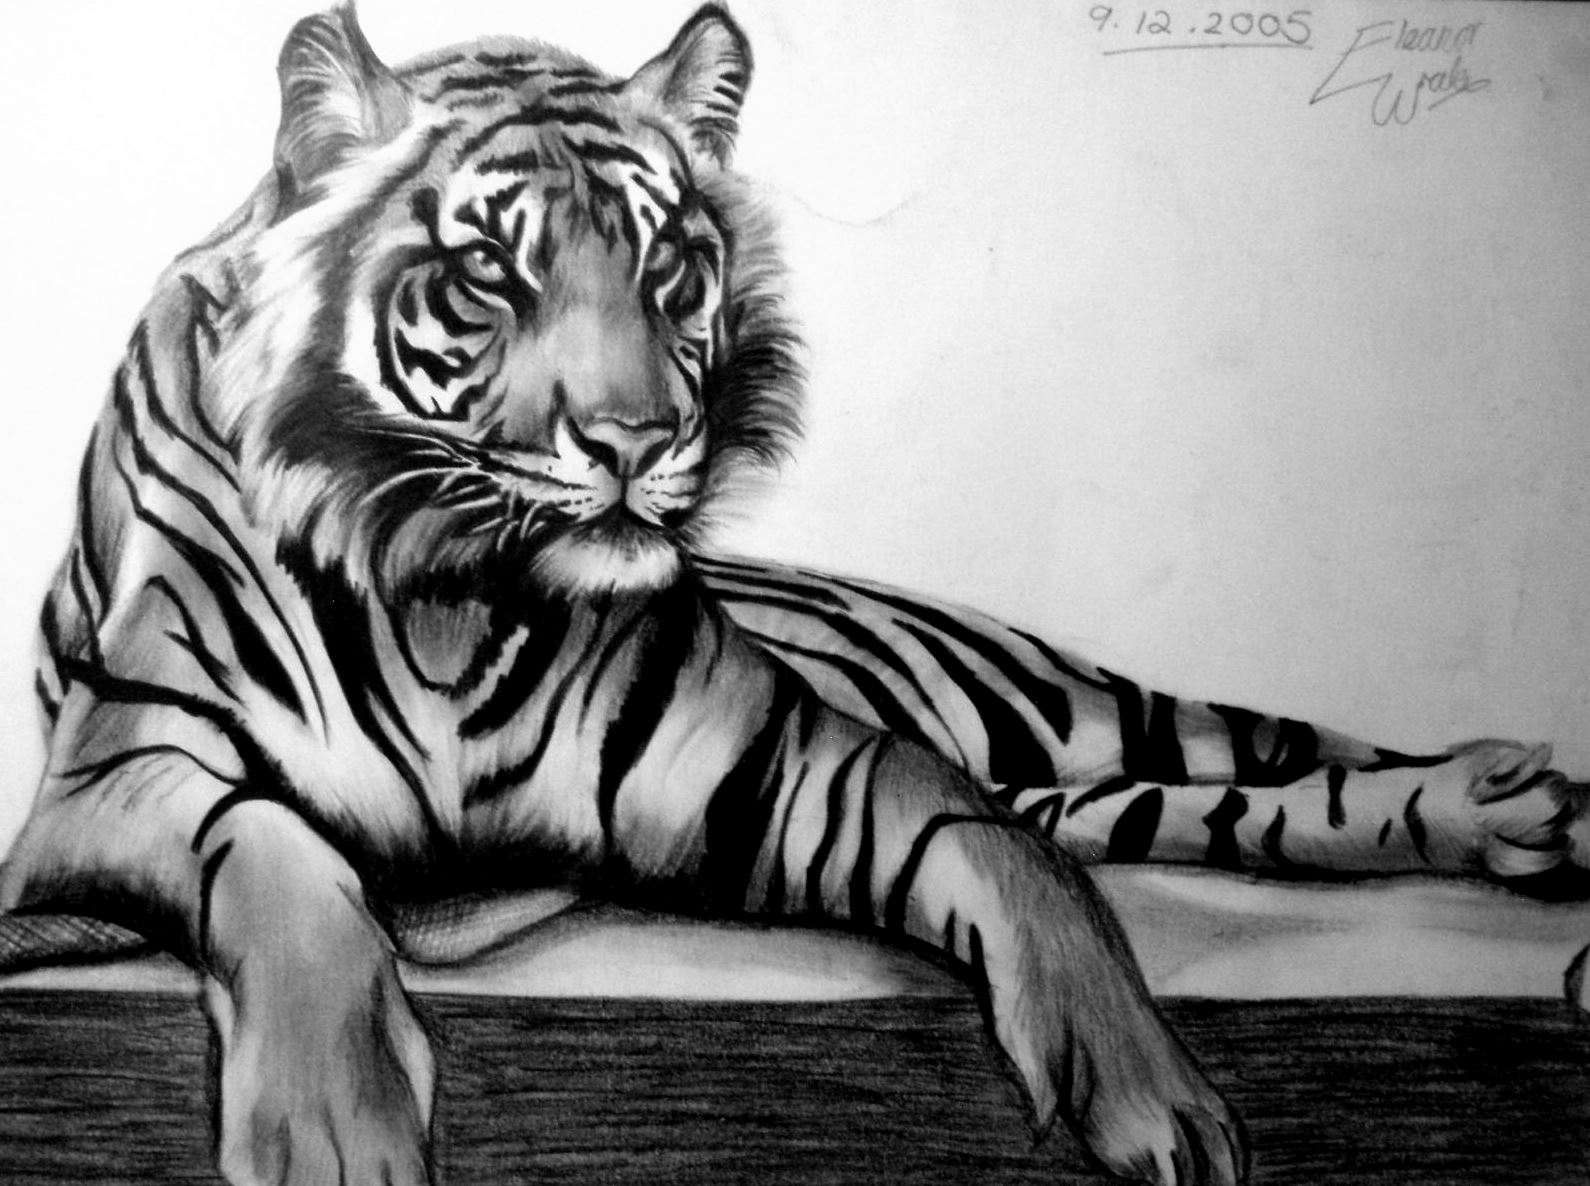
Begin your tiger drawing by sketching basic shapes that represent its body and head. Start with an oval for the body and a smaller circle for the head. These shapes will act as a foundation for the rest of the drawing and help you maintain proportion and symmetry.
Next, add additional shapes to represent the limbs, tail, and ears. Keep these shapes simple and light, as they will be refined and detailed later in the process. Once you are satisfied with the overall proportions, you can start adding more details to your drawing.
Adding Details and Textures
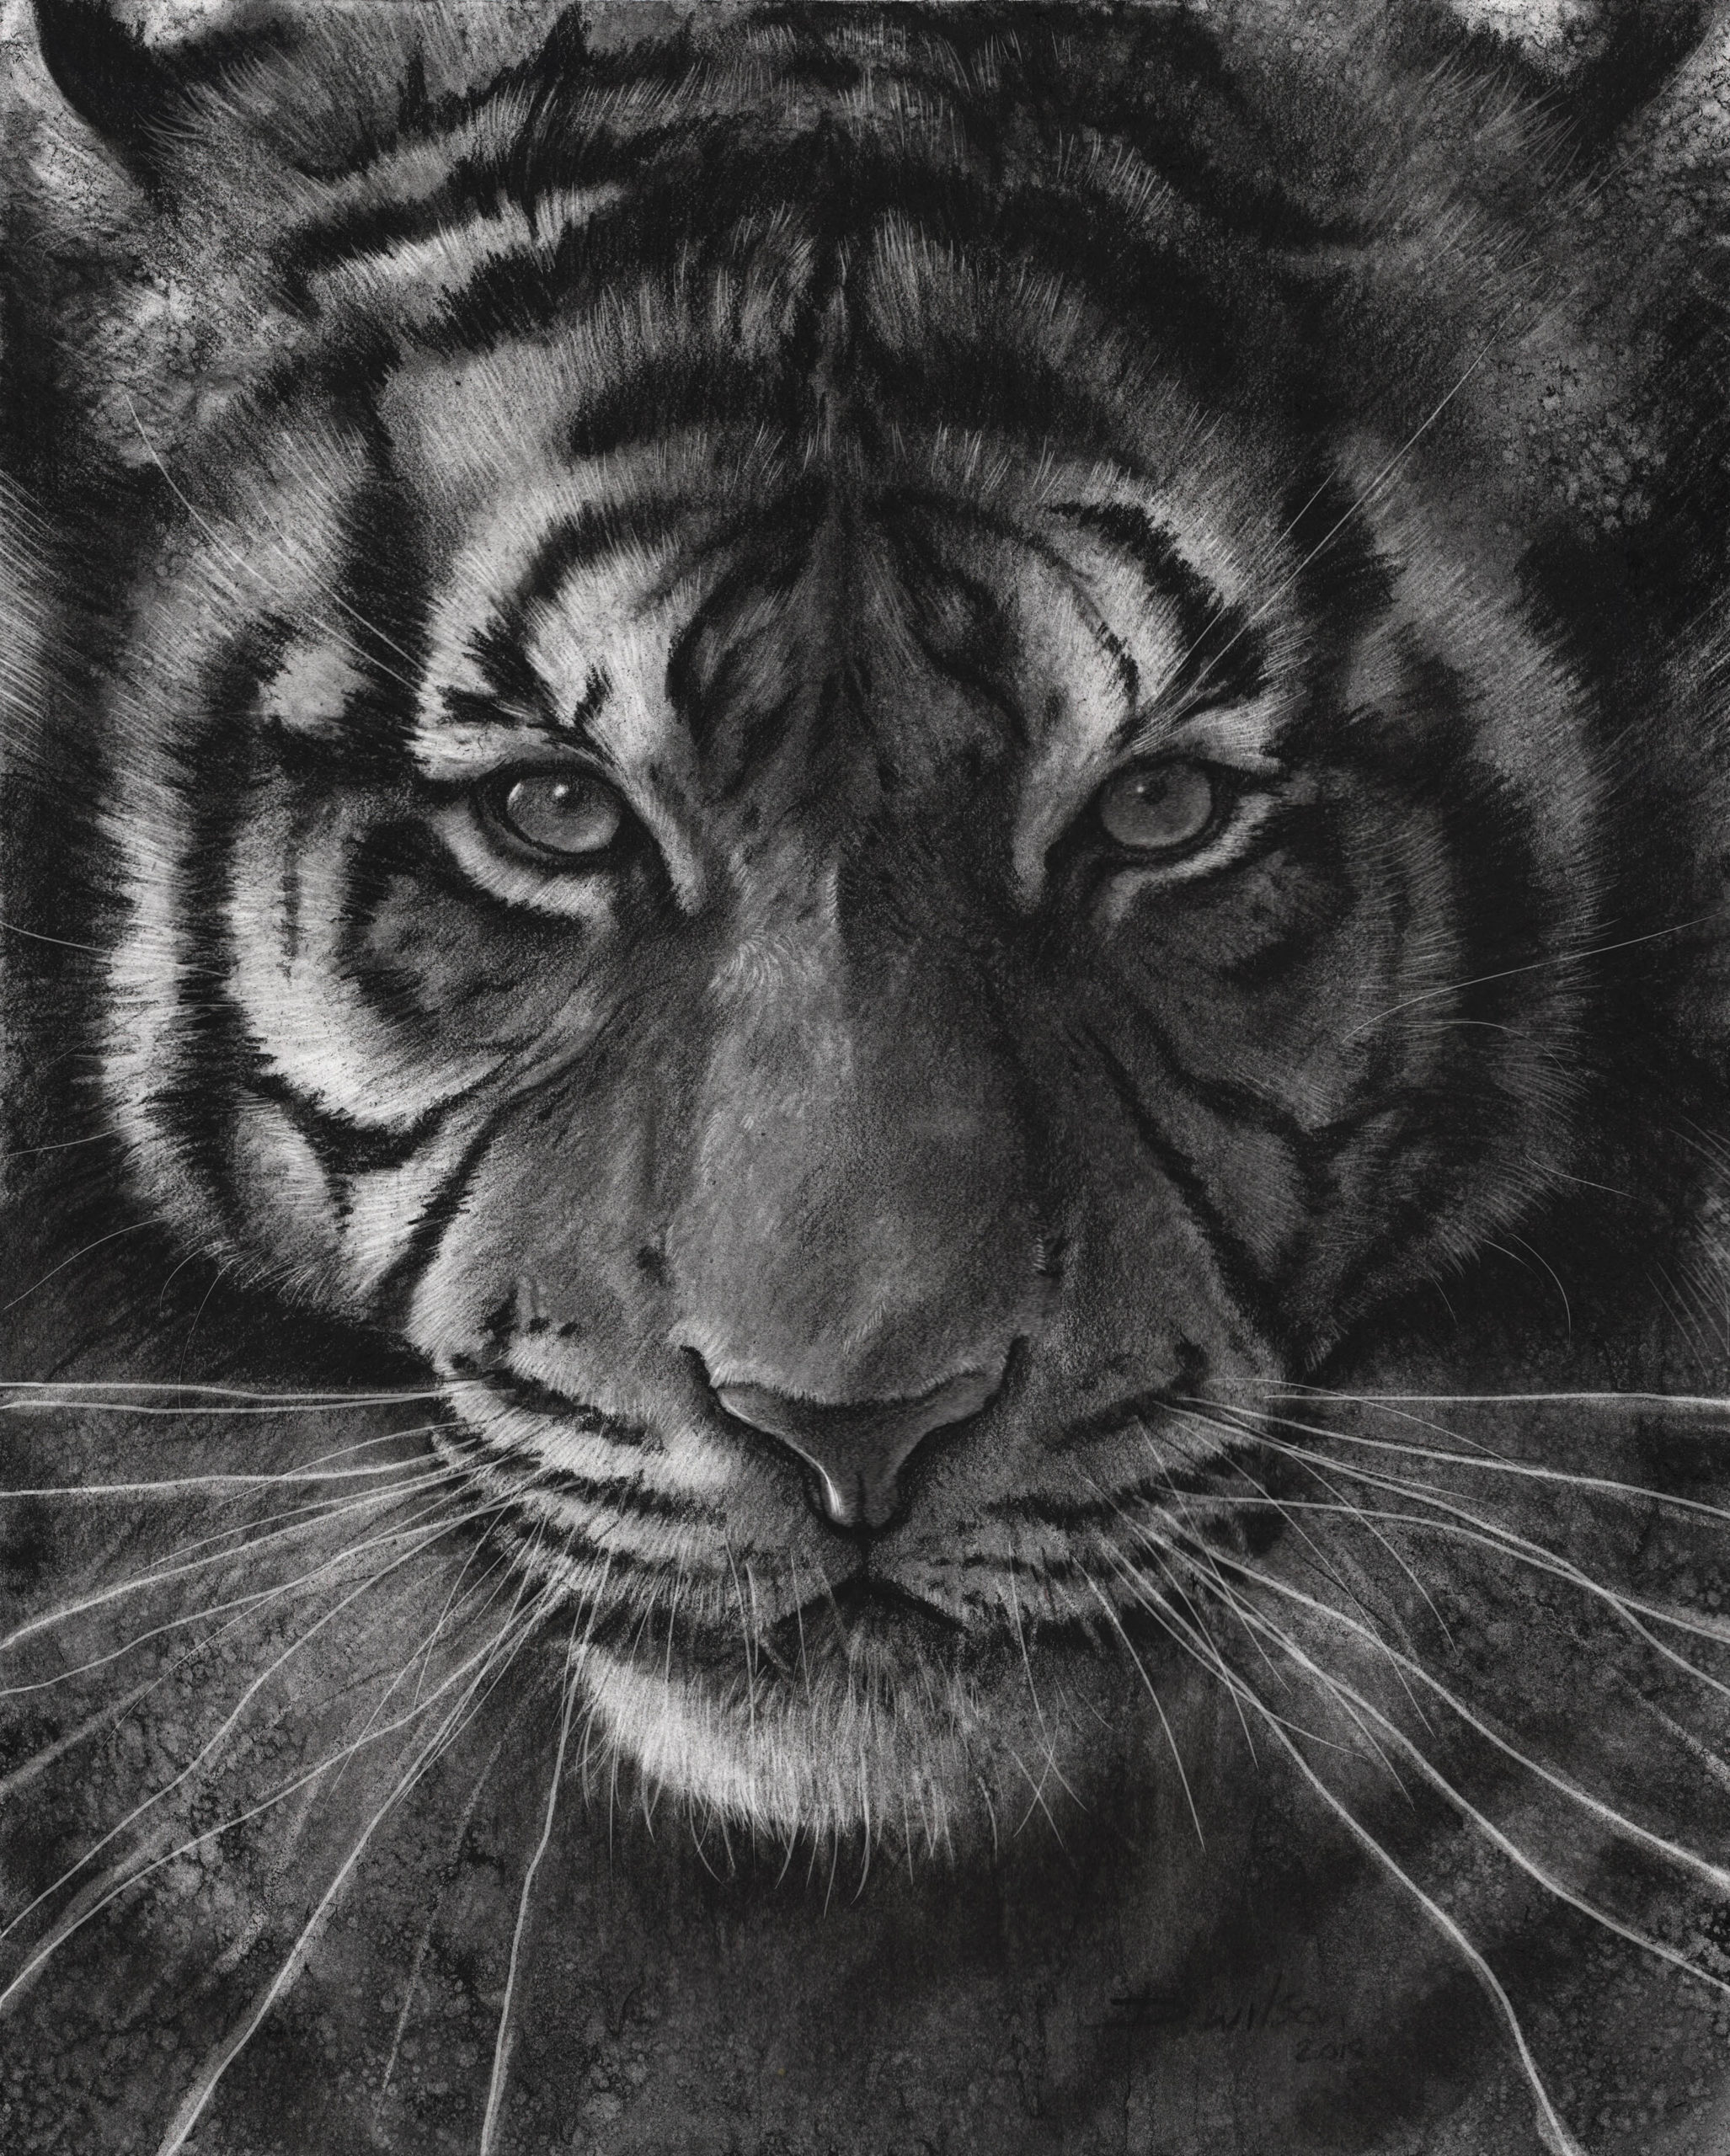
Now that you have the basic structure in place, it's time to add details and textures to bring your tiger drawing to life. Start by refining the facial features, such as the eyes, nose, and mouth. Pay close attention to the shape and placement of these features, as they contribute to the tiger's expression.
When it comes to the fur, use short, curved lines to create the illusion of individual hairs. Tigers have unique fur patterns, so take your time to replicate them accurately. Vary the pressure on your pencil to create depth and shading, giving your drawing a three-dimensional appearance.
Shading and Highlights
Shading is an essential technique that adds depth and dimension to your tiger drawing. By using different pencil grades, you can create a range of values from light to dark. Start by shading the areas that are in shadow, such as the underside of the body and the face, using a softer pencil.
Gradually build up the layers of shading, paying attention to the direction of the fur and the contours of the body. Use a blending stump or your fingers to smudge and blend the shading, creating a smooth transition between light and dark areas.
Don't forget to add highlights to your drawing to make it more realistic. Leave some areas untouched or use an eraser to lift off some graphite to create highlights on the fur or eyes. Highlights add a touch of sparkle and bring your tiger drawing to life.
Final Touches and Fine Details
As you near the completion of your tiger drawing, take some time to refine the details and make any necessary adjustments. Pay attention to the small features like whiskers, claws, and individual strands of fur. These fine details can make a significant difference in the overall realism of your drawing.
Step back occasionally and evaluate your drawing from a distance to ensure that it looks balanced and proportionate. Make any necessary corrections or enhancements to achieve the desired result. Once you are satisfied with your tiger drawing, you can proceed to sign and date it.
Conclusion
Drawing a tiger requires patience, practice, and attention to detail. By following the techniques and tips mentioned in this article, you can create a stunning tiger drawing that captures the beauty and grace of these incredible creatures. Remember to enjoy the process and embrace your own unique style of drawing. Happy sketching!
