Introduction to Tiger Drawing
Learning to draw a tiger can be an exciting and rewarding experience. Tigers are majestic creatures, and being able to recreate their likeness on paper can bring a sense of accomplishment. Whether you are a beginner or an experienced artist, this article will guide you through the process of drawing a tiger in an easy and approachable way.

Gathering Art Supplies
Before starting your tiger drawing, it's essential to gather all the necessary art supplies. You will need a pencil, eraser, drawing paper, and optional materials such as colored pencils or markers if you want to add color to your artwork. Having all your supplies ready will ensure a smooth drawing process.

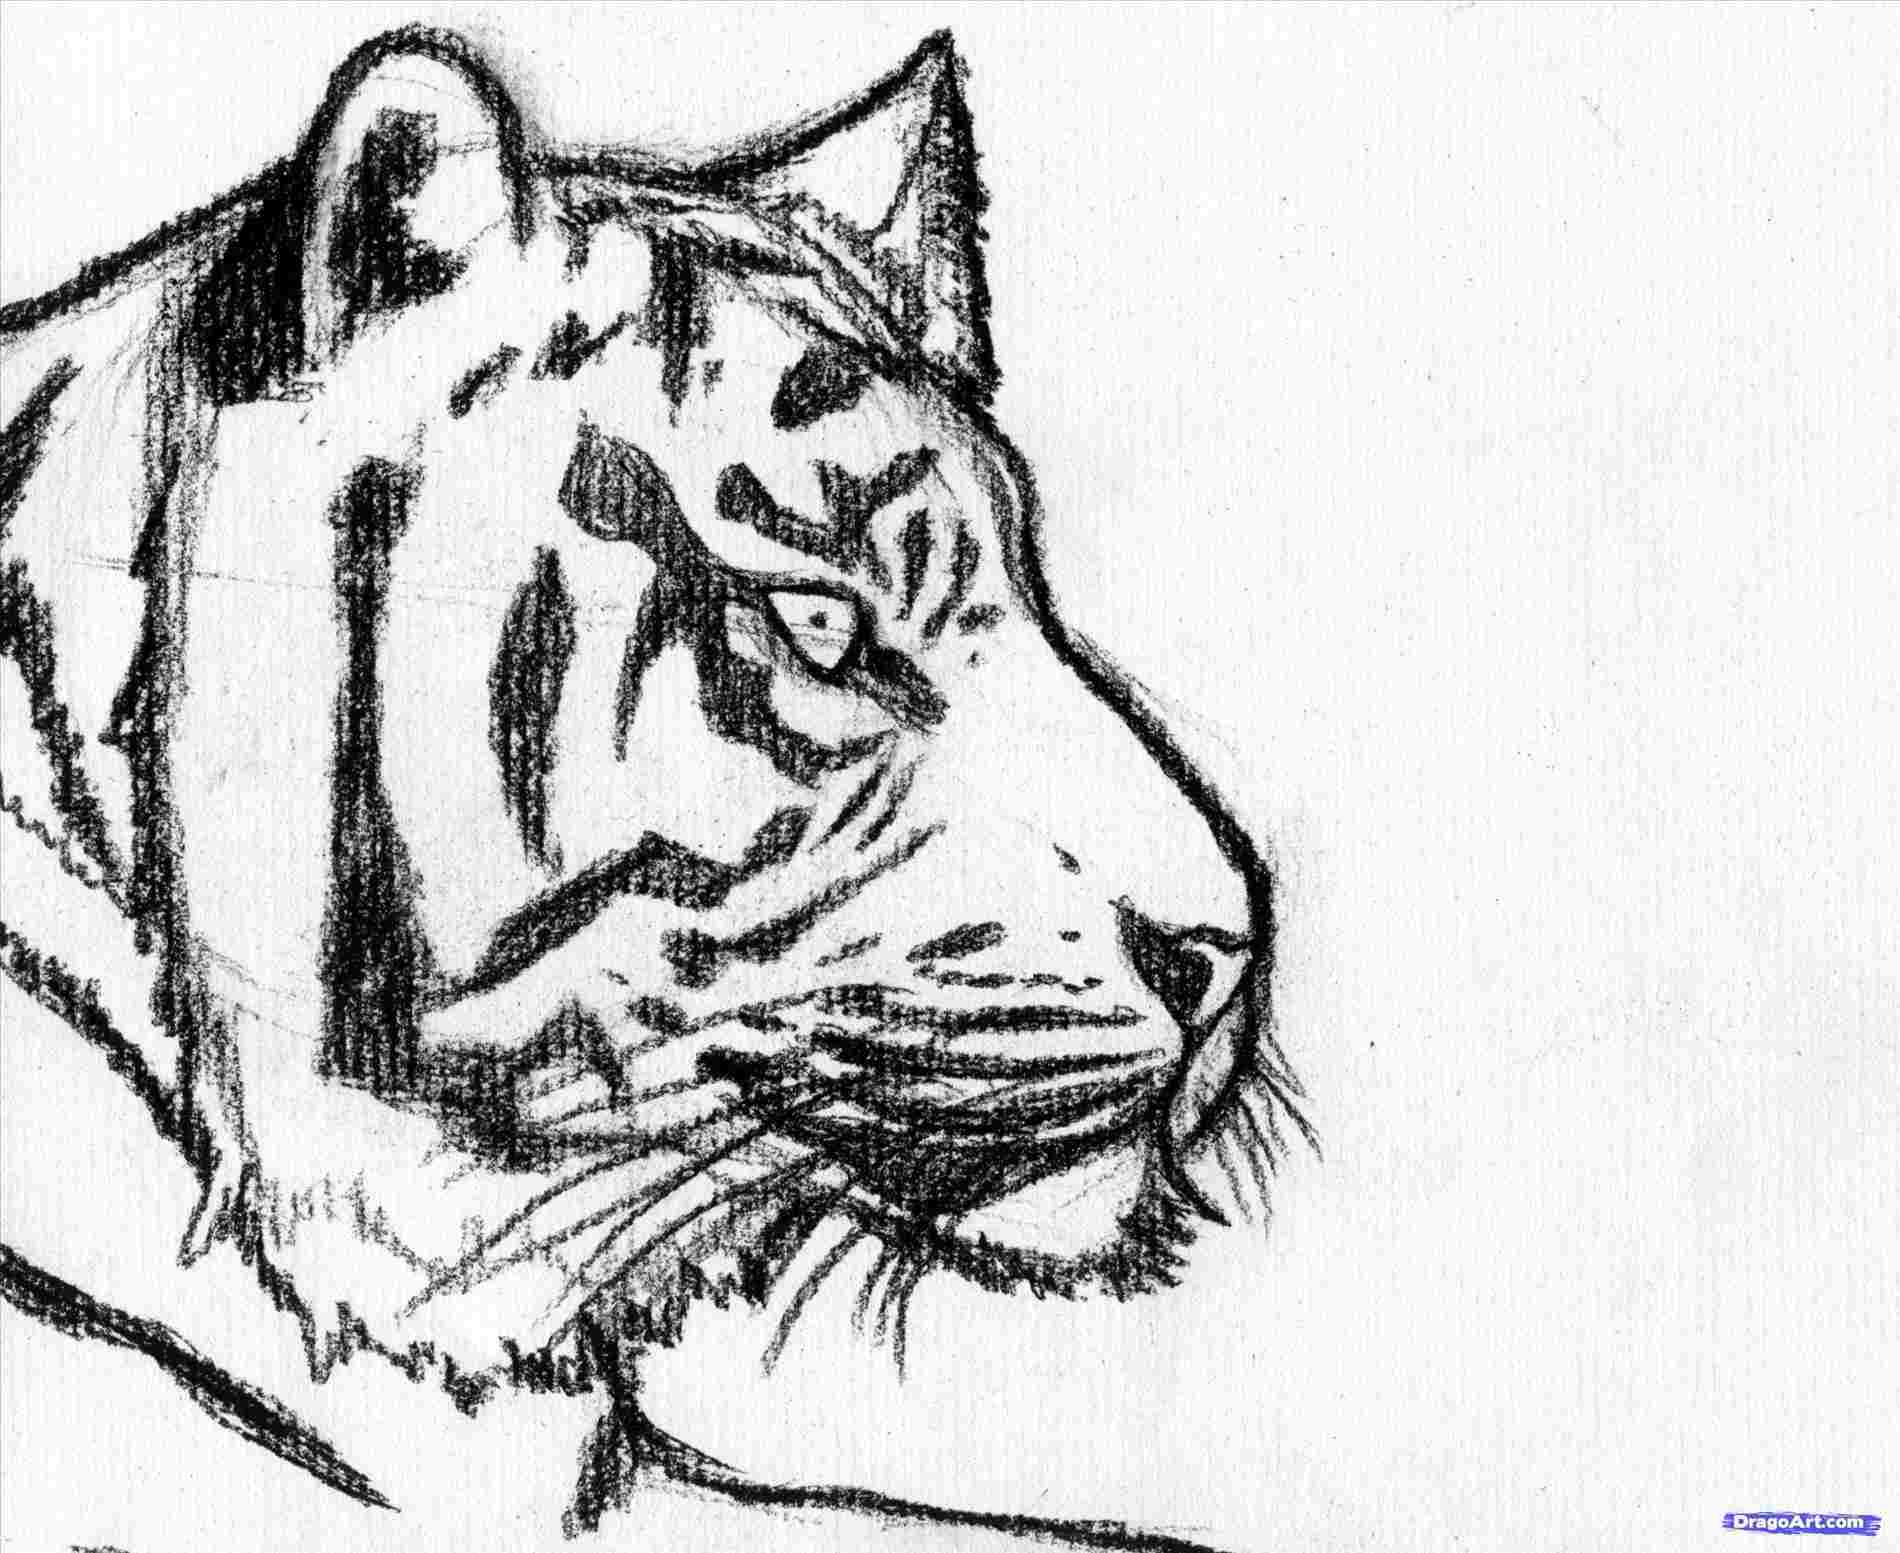
Observing Tiger Anatomy
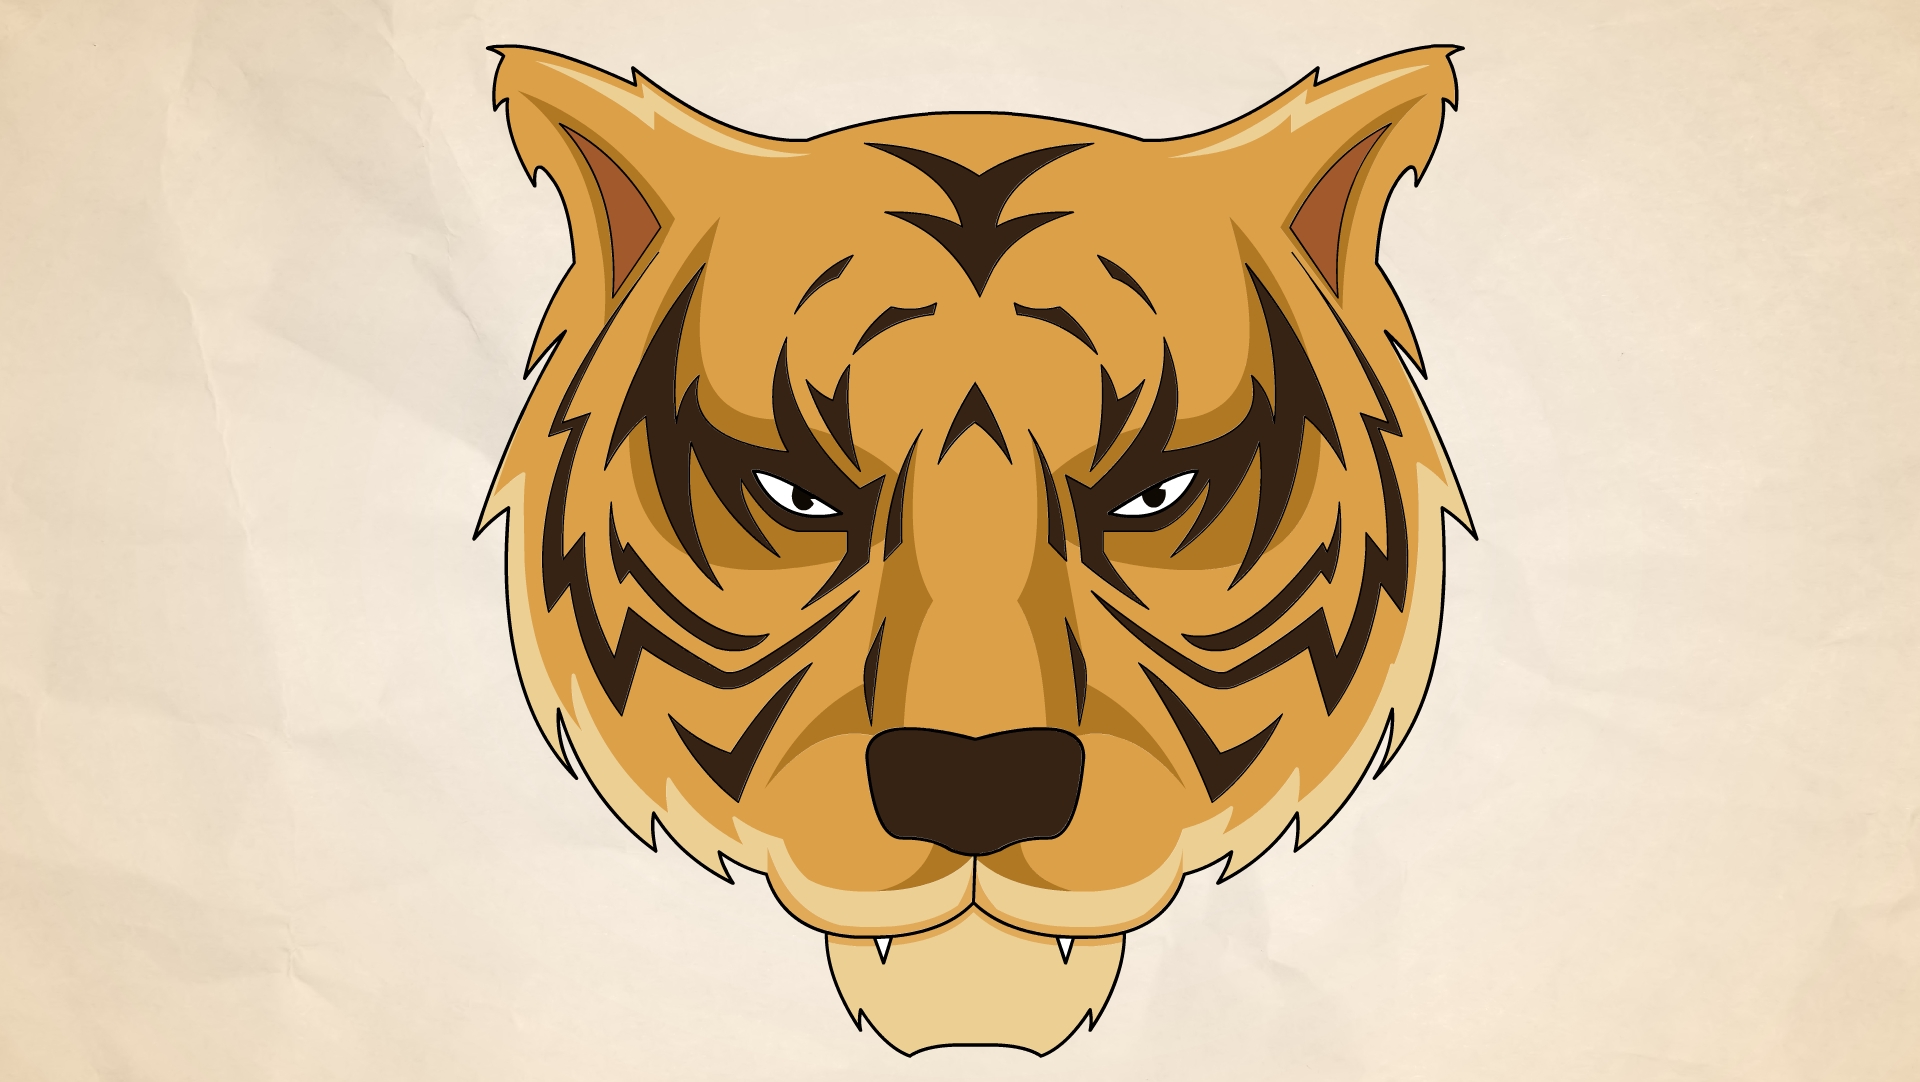
Understanding the anatomy of a tiger is crucial when drawing one. Take some time to observe photographs or reference images of tigers to familiarize yourself with their body structure, facial features, and unique patterns. Notice the shape of their head, the placement of their eyes, and the way their body is proportioned.

Starting with Basic Shapes
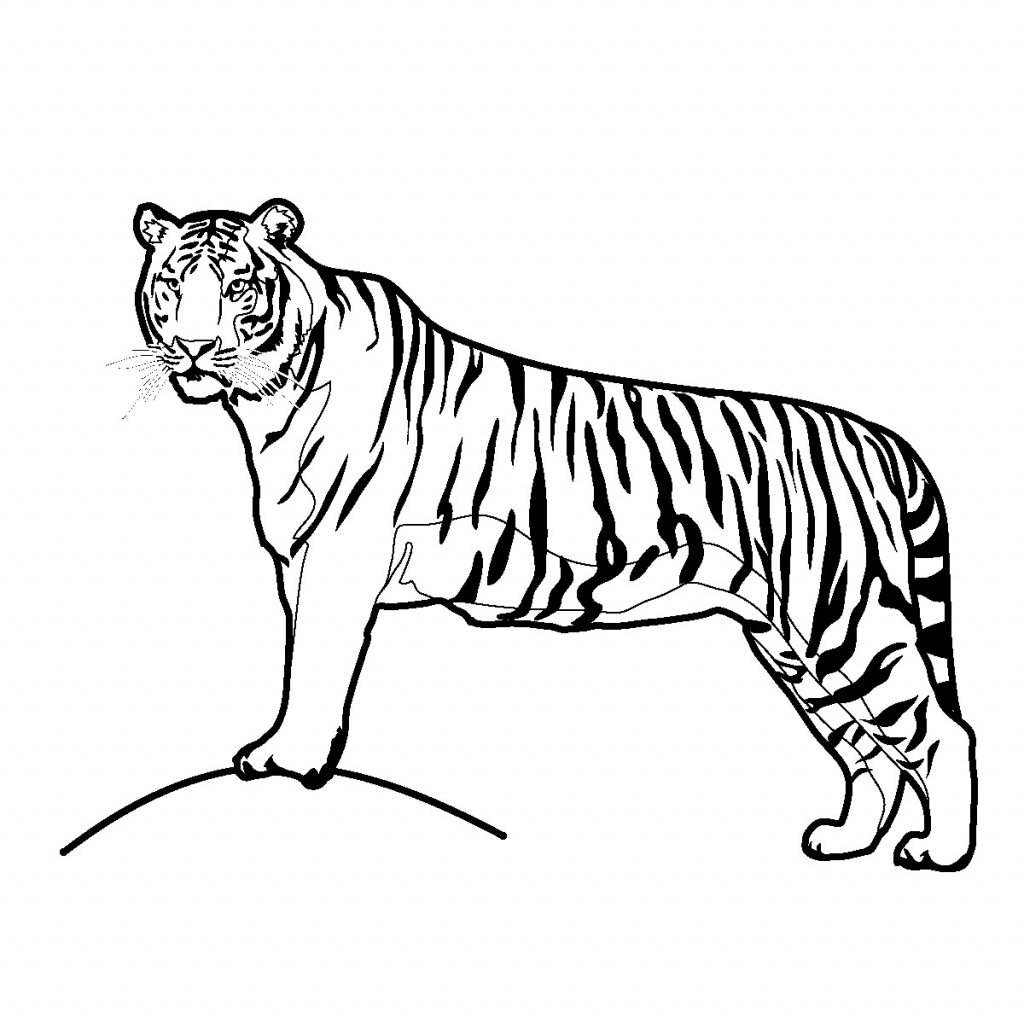
Begin your tiger drawing by sketching basic shapes that represent different parts of the tiger's body. Start with a large oval for the head and a smaller oval for the body. Add circles for the shoulders, hips, and joints. These simple shapes will serve as a framework for your tiger drawing.
Adding Details and Features
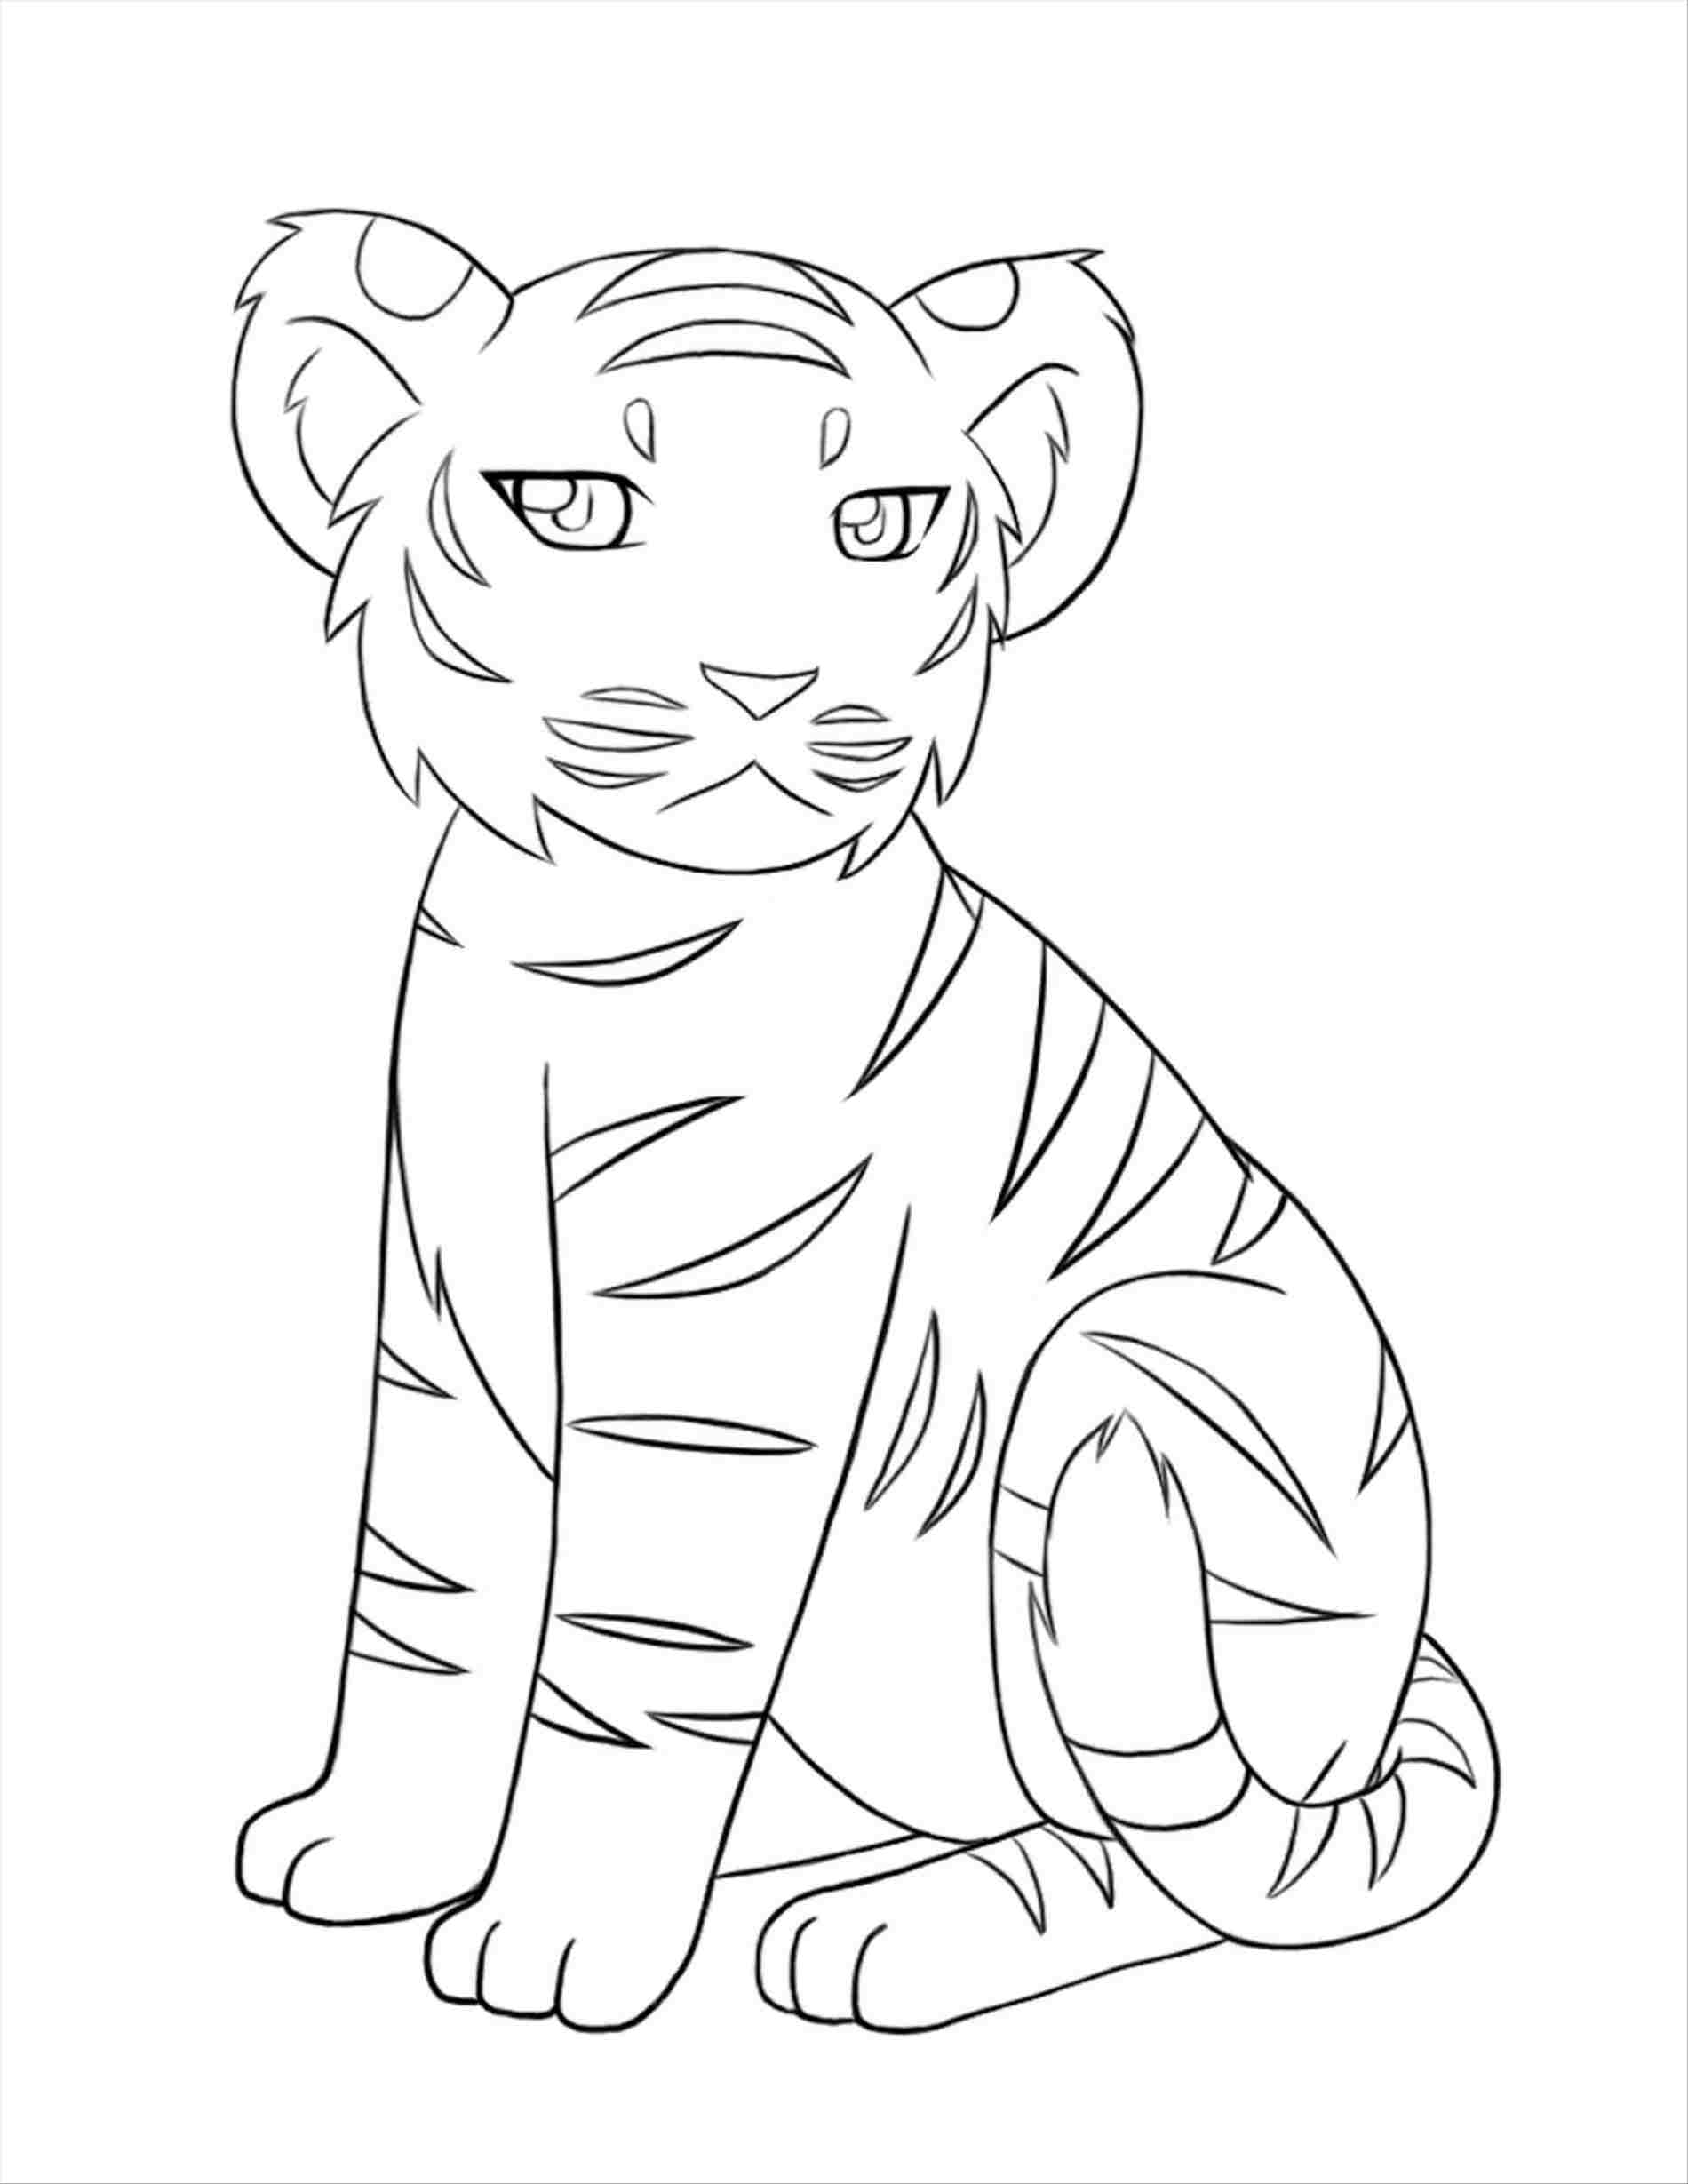
Once you have the basic shapes in place, it's time to add more details to your tiger drawing. Start by refining the outlines of the head and body, giving them a more defined shape. Add the ears, eyes, nose, and mouth, paying close attention to their placement and proportions. Don't forget to include the tiger's distinct stripes!
Bringing Your Tiger to Life
Now that the foundation of your tiger drawing is complete, it's time to bring it to life. Start by shading the various parts of the tiger's body to create depth and dimension. Use various pencil techniques to achieve different textures, such as soft fur or rough skin. Take your time with this step, as it can greatly enhance the realism of your drawing.
Adding Color (Optional)
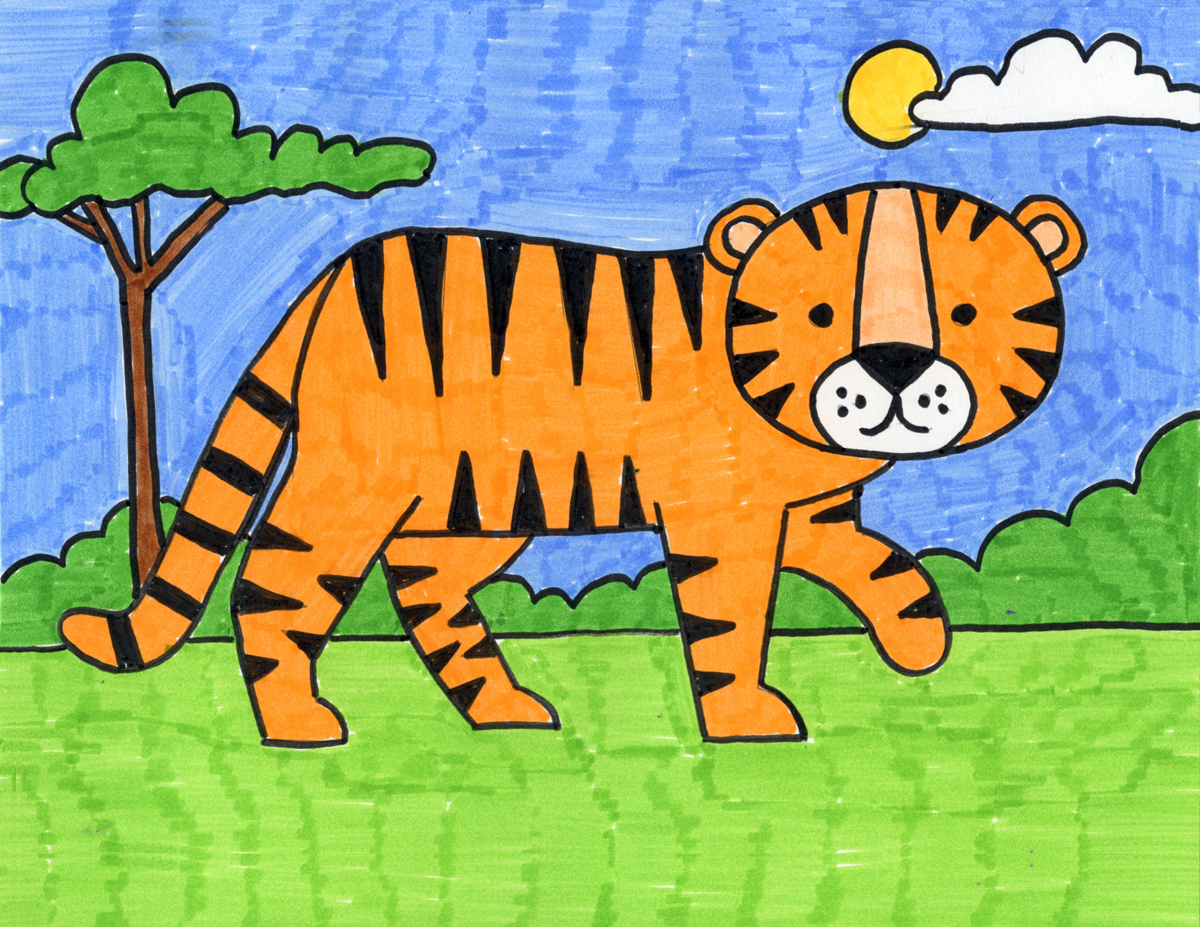
If you prefer to add color to your tiger drawing, now is the time to do so. Use colored pencils or markers to carefully fill in the different areas of the tiger's body. Refer to reference images to capture the accurate colors of a tiger's fur. Remember to blend and layer colors to achieve a realistic look.

Final Touches and Refinements
Once you are satisfied with the overall look of your tiger drawing, take a step back and assess any areas that may need further refinement. This is your chance to make any necessary adjustments and add any additional details that can enhance the overall composition. Take your time and trust your artistic instincts!
Conclusion
Drawing a tiger can be a gratifying experience, and with the right approach, it can be made easy for artists of all skill levels. By following the steps outlined in this article, you can create a stunning tiger drawing that showcases your artistic talent. Remember to have fun and embrace your creativity throughout the process!
