
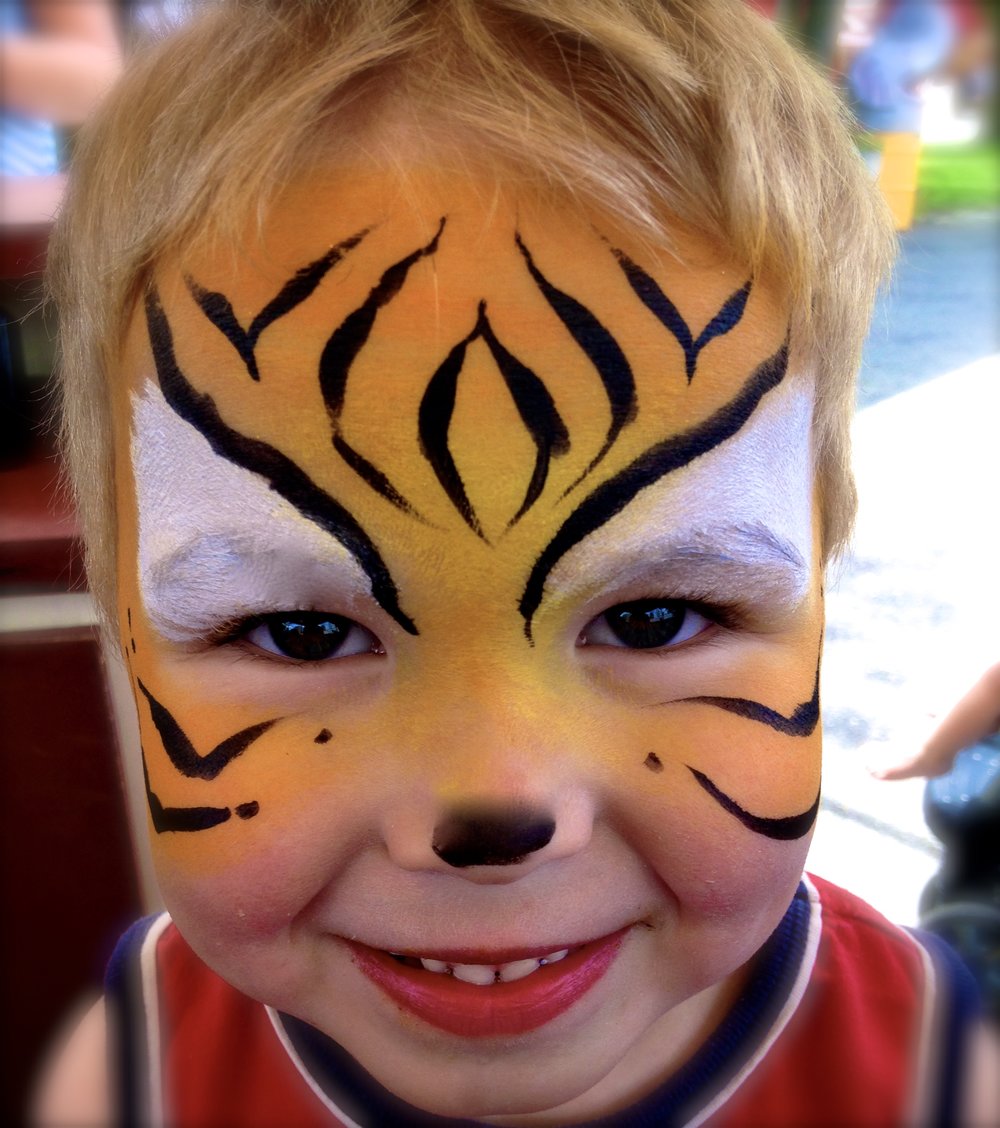
Introduction to Tiger Face Paint
Tiger face paint is a popular choice for children and adults alike when it comes to costume parties, Halloween, or any other occasion that calls for a bit of creativity and fun. This article will guide you through the process of creating a tiger face paint look, step by step, so you can wow your friends and family with your artistic skills. Whether you are a beginner or an experienced face painter, this guide will provide you with the necessary information to achieve a stunning tiger face paint design.
Choosing the Right Supplies
Before you begin, it's important to gather all the necessary supplies to ensure a smooth and successful face painting session. Here are some essential items you will need:

- Face paints in various shades of orange, brown, black, and white
- Paint brushes in different sizes
- Sponges for blending colors
- Water and a container for rinsing brushes
- A mirror for the person being painted to see the progress
- Face wipes or mild soap for easy removal
Step-by-Step Guide to Tiger Face Paint
Now that you have all the necessary supplies, let's dive into the step-by-step process of creating a tiger face paint look:
Step 1: Prep the Face

Start by cleaning the face with mild soap and water, ensuring it is free from oils and dirt. This will help the face paint adhere better and last longer. Pat the face dry gently with a towel.
Step 2: Base Coat
Using a damp sponge or a brush, apply a base coat of orange face paint all over the face, excluding the eye area. Make sure to blend it evenly for a smooth finish. This will be the main color for the tiger's fur.
Step 3: Add Details
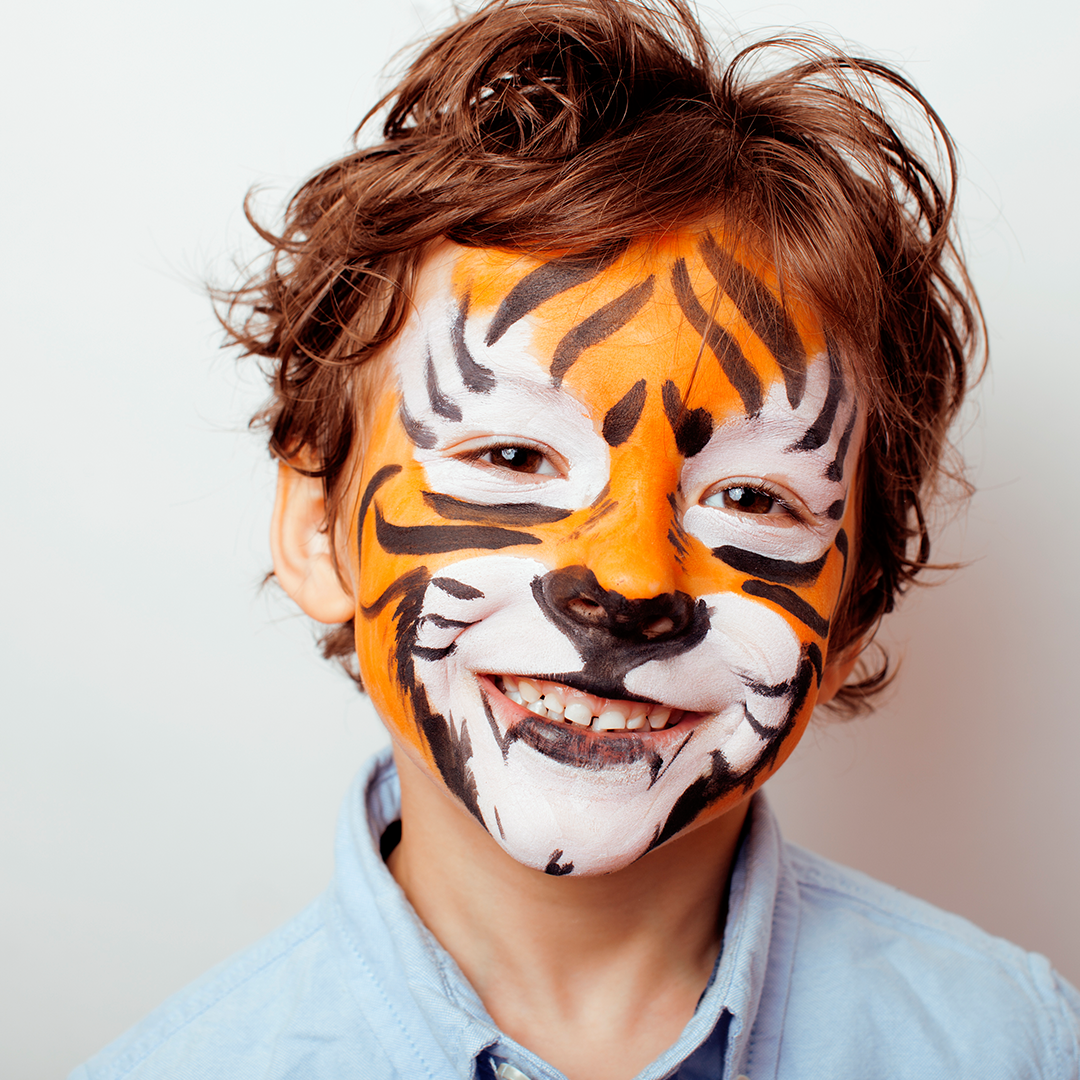
Using a finer brush and black face paint, start adding the tiger's stripes. Begin by creating vertical stripes on the forehead, cheeks, and chin. These stripes should be slightly curved and taper towards the center of the face.
Step 4: Define the Eyes

Using black face paint and a thin brush, outline the eyes to make them stand out. Extend the lines slightly towards the temples to give the illusion of tiger markings. Fill in the area around the eyes with white face paint to make them pop.
Step 5: Highlight the Nose and Whiskers

With white face paint and a thin brush, highlight the tip of the nose and create whisker-like strokes on both sides of the cheeks. This will add an extra touch of realism to the tiger face paint design.
Step 6: Finishing Touches

Finally, use brown face paint to add shading and depth to the tiger's stripes. Apply it sparingly along the edges of the black stripes and blend it gently to create a realistic fur effect. You can also add some white dots or highlights to enhance the overall look.
Removing the Tiger Face Paint
When the festivities are over, it's important to remove the face paint properly to avoid any skin irritations. Simply use face wipes or mild soap and water to gently wash off the paint. Avoid scrubbing or rubbing too hard, as this can irritate the skin.
Conclusion
Tiger face paint is a fantastic way to unleash your creativity and transform into a fierce and majestic creature. By following the step-by-step guide provided in this article, you'll be able to create a stunning tiger face paint look that will surely impress. Remember to have fun and experiment with different variations to make the design your own. Happy face painting!
